注意
点击此处下载完整的示例代码
1. 使用预训练模型开始使用 CIFAR10
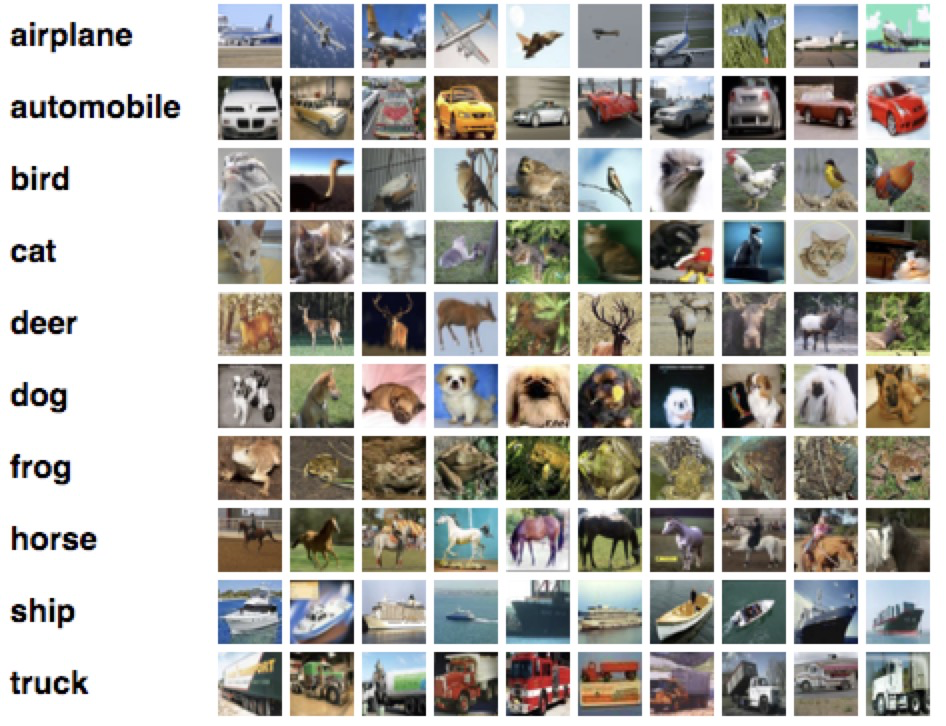
CIFAR10 是一个由 Alex Krizhevsky, Vinod Nair 和 Geoffrey Hinton 收集的、带有标签的微小(32x32)图像数据集。它在计算机视觉研究中被广泛用作基准。
在本教程中,我们将演示如何从gluoncv 模型库加载预训练模型,并对来自互联网或本地磁盘的图像进行分类。
一步一步来
我们先用几行 python 代码试试预训练的 cifar 模型。
首先,请按照安装指南安装 MXNet 和 GluonCV,如果您还没有安装的话。
import matplotlib.pyplot as plt

from mxnet import gluon, nd, image
from mxnet.gluon.data.vision import transforms
from gluoncv import utils
from gluoncv.model_zoo import get_model
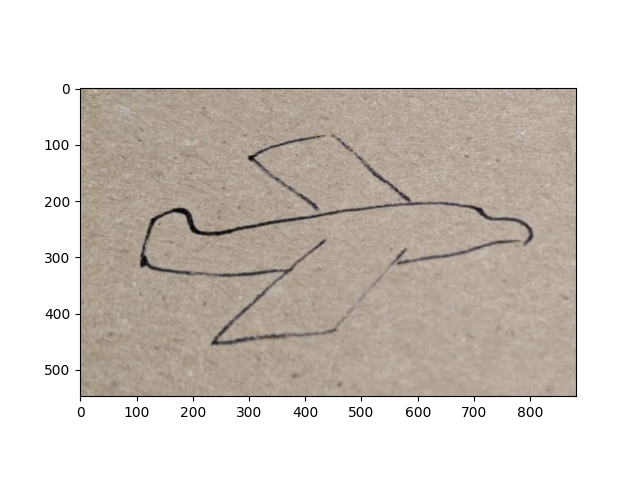
然后,我们下载并显示示例图像
url = 'https://raw.githubusercontent.com/dmlc/web-data/master/gluoncv/classification/plane-draw.jpeg'
im_fname = utils.download(url)

img = image.imread(im_fname)

plt.imshow(img.asnumpy())
plt.show()
输出
Downloading plane-draw.jpeg from https://raw.githubusercontent.com/dmlc/web-data/master/gluoncv/classification/plane-draw.jpeg...

  0%|          | 0/99 [00:00<?, ?KB/s]
100%|##########| 99/99 [00:00<00:00, 20098.55KB/s]
如果您认不出来,这张图片是一个画得很糟糕的飞机 :)
现在我们为图像定义转换。
transform_fn = transforms.Compose([
    transforms.Resize(32),
    transforms.CenterCrop(32),
    transforms.ToTensor(),
    transforms.Normalize([0.4914, 0.4822, 0.4465], [0.2023, 0.1994, 0.2010])
])
这个转换函数做了三件事:将图像调整大小并裁剪到 32x32,将其转置为 num_channels*height*width,并使用所有 CIFAR10 图像计算出的均值和标准差进行归一化。
转换后的图像是什么样的?
img = transform_fn(img)
plt.imshow(nd.transpose(img, (1,2,0)).asnumpy())
plt.show()
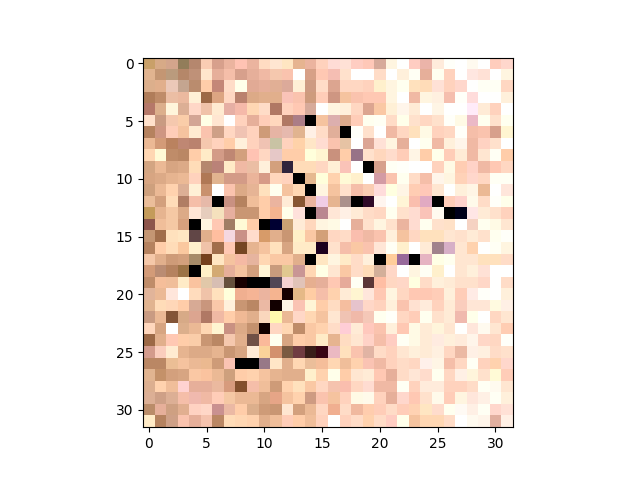
什么都认不出来?不要惊慌! 我也认不出来。这种转换使得它更“模型友好”,而不是“人类友好”。
接下来,我们加载预训练模型。
net = get_model('cifar_resnet110_v1', classes=10, pretrained=True)
输出
Downloading /root/.mxnet/models/cifar_resnet110_v1-a0e1f860.zip from https://apache-mxnet.s3-accelerate.dualstack.amazonaws.com/gluon/models/cifar_resnet110_v1-a0e1f860.zip...

  0%|          | 0/6335 [00:00<?, ?KB/s]
  2%|1         | 98/6335 [00:00<00:08, 724.72KB/s]
  8%|8         | 514/6335 [00:00<00:02, 2160.26KB/s]
 34%|###4      | 2179/6335 [00:00<00:00, 6939.53KB/s]
6336KB [00:00, 13047.08KB/s]
最后,我们准备图像并将其输入模型
pred = net(img.expand_dims(axis=0))

class_names = ['airplane', 'automobile', 'bird', 'cat', 'deer',
               'dog', 'frog', 'horse', 'ship', 'truck']
ind = nd.argmax(pred, axis=1).astype('int')
print('The input picture is classified as [%s], with probability %.3f.'%
      (class_names[ind.asscalar()], nd.softmax(pred)[0][ind].asscalar()))
输出
The input picture is classified as [airplane], with probability 0.393.
运行脚本
这里有一个脚本,一次性完成了前面的所有步骤。
输入您自己的图像,看看它的效果如何。请记住,CIFAR10 是一个小型数据集,只有 10 个类别。在 CIFAR10 上训练的模型只能识别这 10 个类别中的物体。因此,如果我们给模型输入一张不属于这 10 个类别中任何一个的图片,结果可能会让您惊讶。
例如,我们可以用下面的贝克山照片进行测试
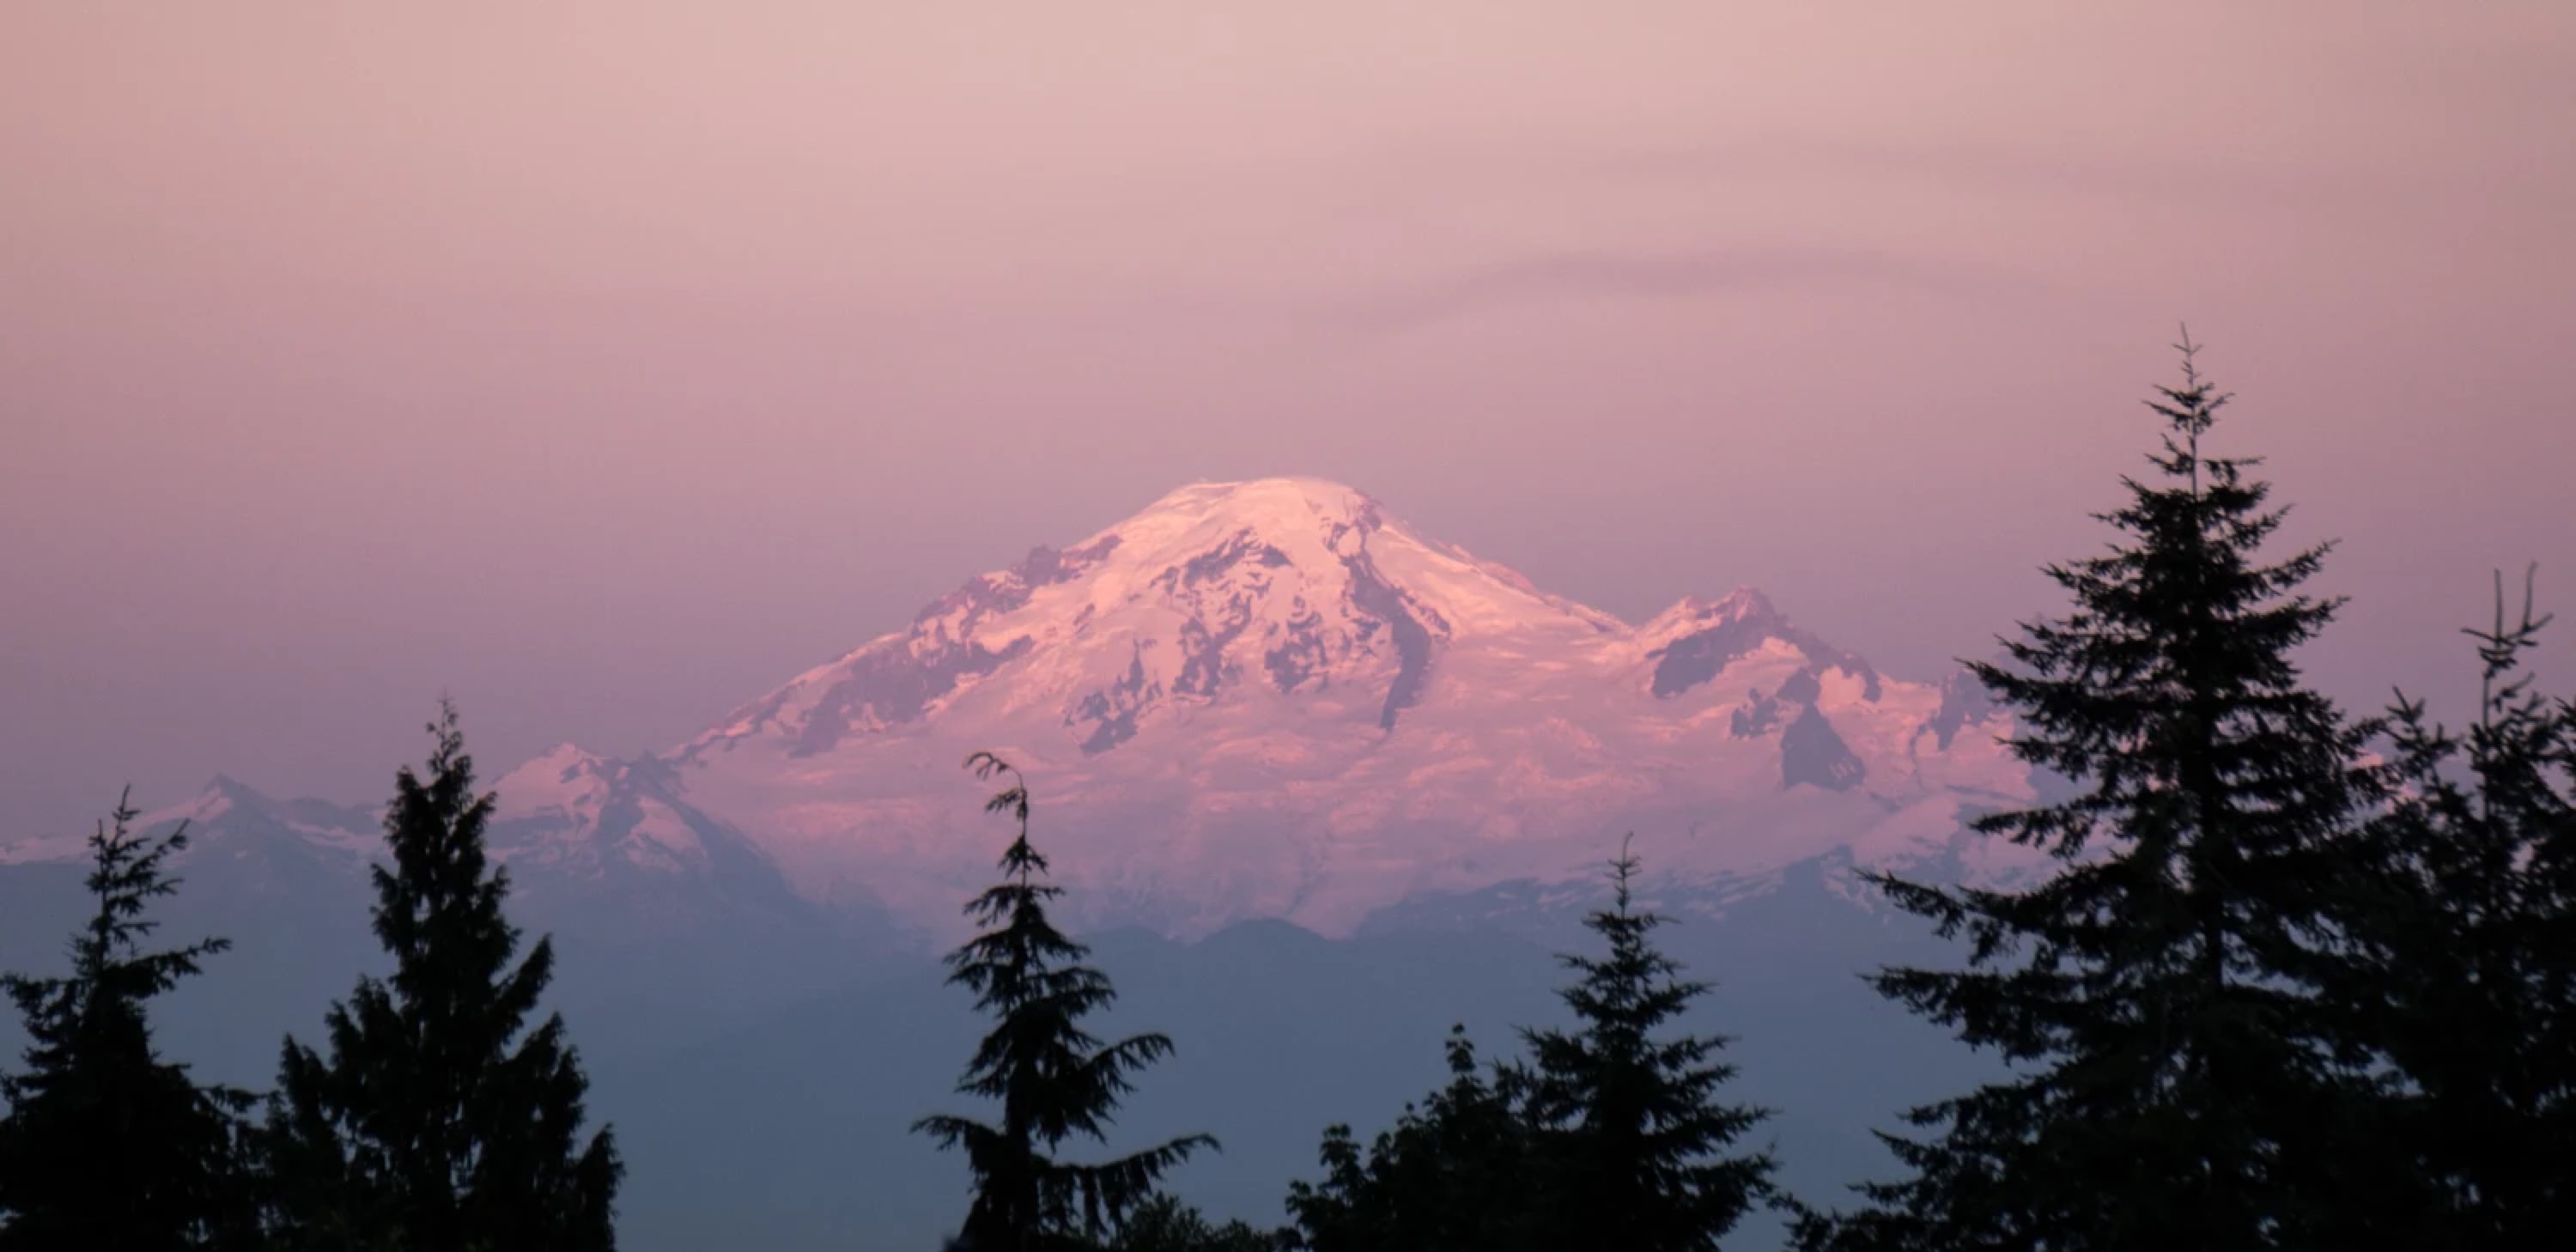
python demo_cifar10.py --model cifar_resnet110_v1 --input-pic mt_baker.jpg
结果是
The input picture is classified to be [ship], with probability 0.949.
下一步
恭喜!您刚刚读完了第一个教程。还有很多教程可以帮助您学习 GluonCV。
如果您想深入了解在 CIFAR10 上进行训练,请继续阅读关于 CIFAR10 的下一个教程。
或者,如果您想尝试一个包含 1000 个常见对象类别的大规模数据集,请阅读开始使用 ImageNet 预训练模型。
脚本总运行时间: (0 分 1.614 秒)